This blog shows how to return a Location header after a resource creation (POST) when building a contract first REST services using RAML.
Why would I want to return a location header ?
According to the de factor standard and best practices when creating a new resource entry using a POST the new entry’s URI is assigned autocratically and returned in a Location header. This makes it easy for the client to record and retrieve the entry it just created. Either directly or at a later time when the newly created entry is needed.
Even in the use-case where the API is designed to return complete data of the newly created entry upon creation there is a need for the client to have explicit knowledge of how the API constructs it’s resource URI:s.
Defining the API
Since we will be using the recommended approach of contract first we will start by creating our RAML definition.
For this blog we will create a simplified Widget API that allows the user to create new widgets in the product catalogue.
| |
So in the example above the /widget resource has a POST method that takes a JSON payload. The response on a successful creation of the entry is a 201 Created containing a Location header with the URI to the newly created entry.
Implementing the service
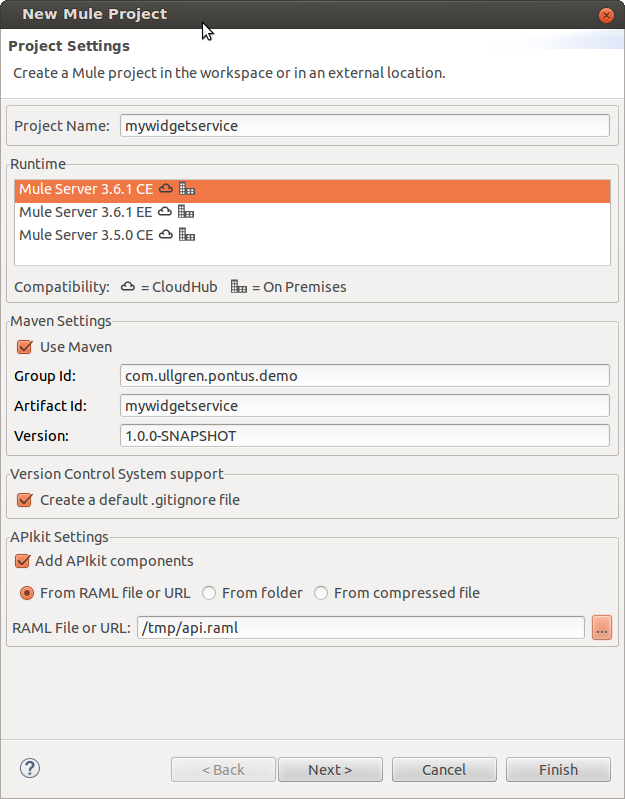
Once we have our contract defined we can start implementing our service. Anypoint Studio makes this very simple. Create a new Mule Project and specify that you want to use the newly created RAML file in the “APIkit Settings” part of the guide as show below.
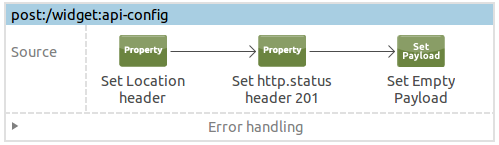
Anypoint Studio will at this point generate a set of default flows for you among them a flow named post:/widget:api-config this should contain the logic for saving the new widget and generate a response. Below is a very simple flow that sets the headers and a empty payload .
| |
Test with API Console
We are now ready to test the flow. The APIkit console allows us to do this without having to build a custom client. Simply select the project, right click and select Run As and then Mule Application. Once the application is fully started Anypoint Studio will show you the APIkit Console. Select the POST next to the /widget resource and then execute a test.
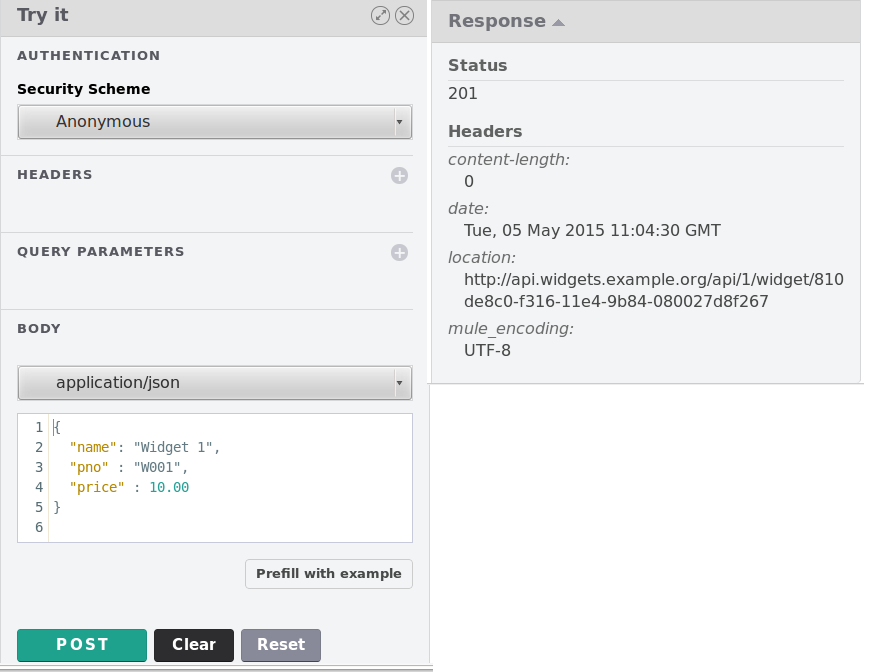
In the response you will see that the Location header is set. A client can then use this header to load the newly created resource. Make the browser redirect
If the client calling your service is a web browser such as IE, Firfox or Chrome you can make it redirect directly by returning a status code 307, instead of 201. This will make the browser redirect to the URI specified in the Location header. However the APIkit console will not redirect since it uses a Javascript client that does the actual call. Also when using APIkit console from Firefox it even fails to correctly show the status code and headers.
Code from this blog can be found at bitbucket.